Showing posts with label It's Sew Easy. Show all posts

Tuesday, March 26, 2013

Tooth fairy pillow

My son is about to loose his first tooth.  For a while now I have been trying to think of a way to make it special for him.  I have never been fond of the idea of trying to sneak into his room and get a tooth out from under a pillow without waking him up the tooth fairy having to look for a tiny tooth under his pillow.  I found a super cute pin for tooth fairy stationery, and in that post it showed a note from the tooth fairy in a pillow with the money.  (Get the stationery here ) So.... I totally copied paid tribute to that idea and made him his own.  Now we just have to wait for that tooth to come out!

Follow me on Pinterest!

Monster knees!

My son is SUPER hard on the knees of his pants.  It used to drive me CRAZY... until I found this totally cute way to "fix" them in Family Fun magazine!  He loves them and now they will last a bit longer.  I used flannel and felt, hopefully he won't wear through them right away.  Even if he does, at least they got one more wear, right? =)

Follow me on Pinterest!

Saturday, April 14, 2012

Today I made...


I'll probably end up making more princesses later, but for now, for this trip, I am done! Finished up the dresses today. Hopefully you can tell, but they are Cinderella, Snow White, Tinkerbell, Ariel, and Rapunzel. My lil' princess will be stylin' at Disneyland!!

Thursday, April 12, 2012

Today I made...


Jedi Robes. We are going to Disneyland soon and I have been sewing lots of princess dresses for my daughter. My son felt left out, so this is what I came up with. I used twin sized sheets, because you get a lot more fabric for cheaper than buying it by the yard. I didn't use a pattern or anything, I just kind of MacGyver'ed it. This pin was the closest how to I could find to what I did in case you are wanting to make them.


I also made these amazing breakfast cookies. I made two batches. One, as directed with peanut butter. The other... with Nutella instead of pb. The pb ones were good. The Nutella ones were A.FRICKIN.MAZING. AND they are GF!! Heavens opened. Angels sang. I had a little mini moment there. Try it. Super yummy. You can see my daughter's hand trying to steal another from the counter. She has good taste, that one. I always knew she was my favorite. =)

Follow me on Pinterest!

Friday, March 16, 2012

Today I made...

...A "Rapunzel" inspired dress from a tshirt, fabric, ribbon, and lace.

AND...

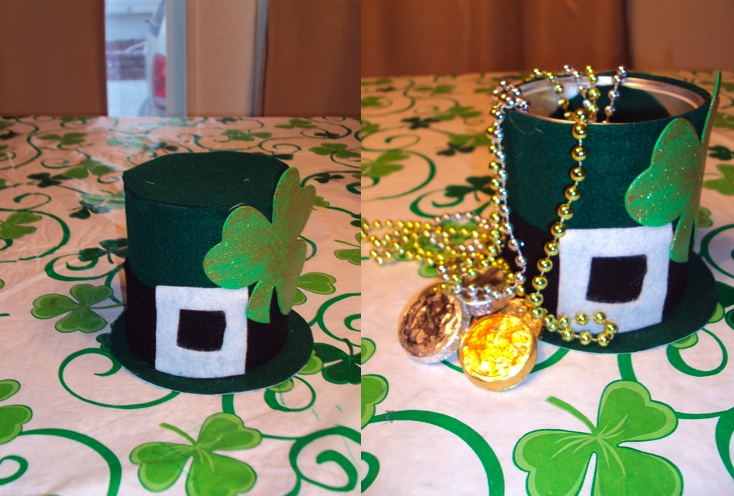
...a leprechaun trap. Looks like he got away this time... he had to leave some treasure though!

Wednesday, March 14, 2012

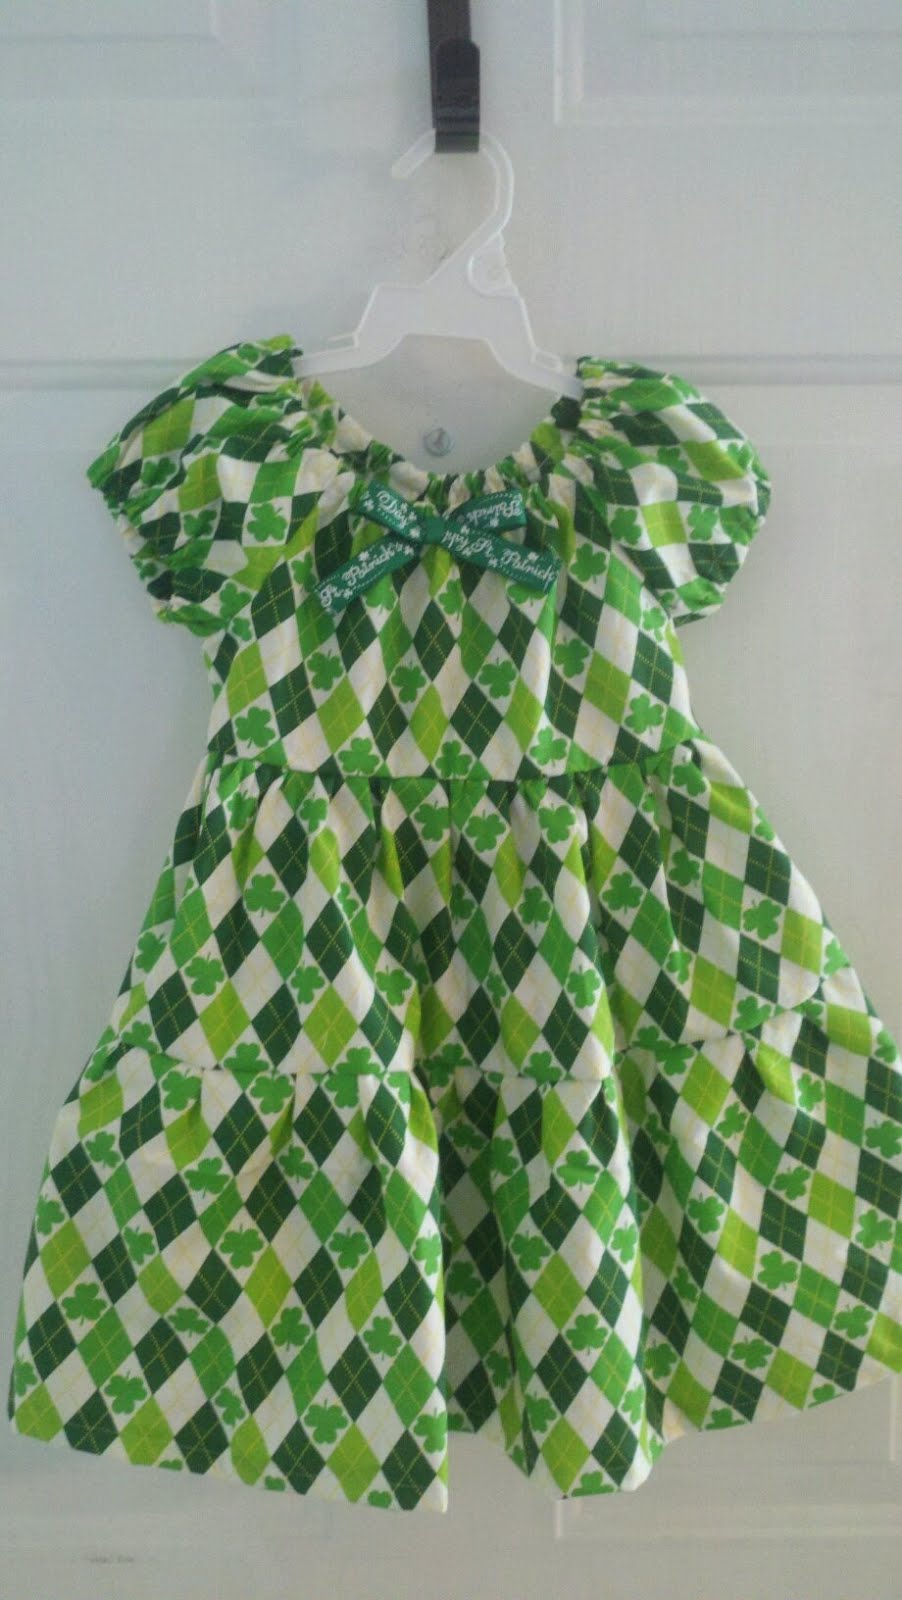
Shake your shamrocks!


My little girl's bday is St. Patrick's day, so I made her this dress. It was not as hard as I thought it would be, and it turned out super cute!! I have been thinking about selling them on Etsy or the Boutiki. What do you think?

Follow me on Pinterest!

Monday, February 27, 2012

Quick and cute t-shirt scarf


This scarf took me about 1 hour start to finish. It cost me $3.00, though yours could be free if you have old t-shirts on hand. And, the best part is that it was SUPER easy. All you need is t-shirts and scissors. Really. My local Wally world had plain t-shirts on sale for $1.00, so I bought them, but if you have some plain t-shirts you wouldn't mind cutting up (maybe if they have some stains) then use those. First, cut off the bottom hems. Save them, you will use them later. Then cut the shirts into 3/4 inch to 1 inch strips. Don't cut the seams, you want loops. You will want about 30-35 total. I had three colors, so I cut 11 strips of each for 33. The exact number isn't that important. More loops makes the scarf longer, less shorter. Take each loop, and pinching the two seams, stretch it as far as it goes easily. Then take the stretched loop and wind it around your hand. It should go around 3-4 times easily. Once you have several piles of loops, cut the hems you have set aside into 3-4 inch strips. Use those strips to tie the loops together. CUTE! If you need a pictorial step by step how to, check out Kevin & Amanda here. (I totally copied it from her!)

Follow me on Pinterest!